How Calendar Integration Works
When a caller wants to book an appointment, Hello Gubby:
Checks your calendar for availability
Offers times that work based on your settings
Confirms the caller's preferred time
Creates the appointment in your calendar
Sends confirmation to both you and the caller
This happens in real time during the call. No back-and-forth. No manual scheduling later. The appointment is confirmed before the conversation ends.
Google Calendar Setup
Google Calendar is the most common choice for small businesses. Here is how to connect it.
Step 1: Connect Your Google Account
In your Hello Gubby dashboard, go to Integrations and select Google Calendar. Click Connect and sign in to your Google account.
Google will ask you to authorize Hello Gubby to view and manage your calendar. This permission is necessary for the AI to check availability and create appointments. Review the permissions and approve.
Step 2: Select Your Calendar
If you have multiple Google Calendars, select which one Hello Gubby should use for appointments. You can choose your primary calendar or a separate calendar you use specifically for client appointments.
Using a dedicated appointment calendar makes it easier to manage availability without affecting your personal events.
Step 3: Configure Availability
Set your bookable hours. This tells the AI when you are available for appointments, regardless of what is on your calendar.
Business hours: Define your typical working hours (for example, 9 AM to 5 PM, Monday through Friday).
Buffer time: Add time between appointments. A 15-minute buffer ensures you have time to prepare between meetings.
Booking window: Set how far in advance people can book. Allow bookings up to 30 days out, or limit to the next 2 weeks.
Minimum notice: Require a minimum lead time. Prevent same-day bookings by requiring 24 hours notice, or allow immediate bookings for urgent appointments.
Step 4: Set Appointment Types
Create appointment types with specific durations and descriptions. For example:
Initial consultation: 30 minutes
Follow-up call: 15 minutes
In-person meeting: 1 hour
The AI will ask callers what type of appointment they need and book the appropriate duration.
Step 5: Test the Connection
Make a test call and ask to book an appointment. Verify that the AI offers available times that match your calendar and that the appointment appears in Google Calendar after booking.
Outlook, Calendly and other scheduling tools
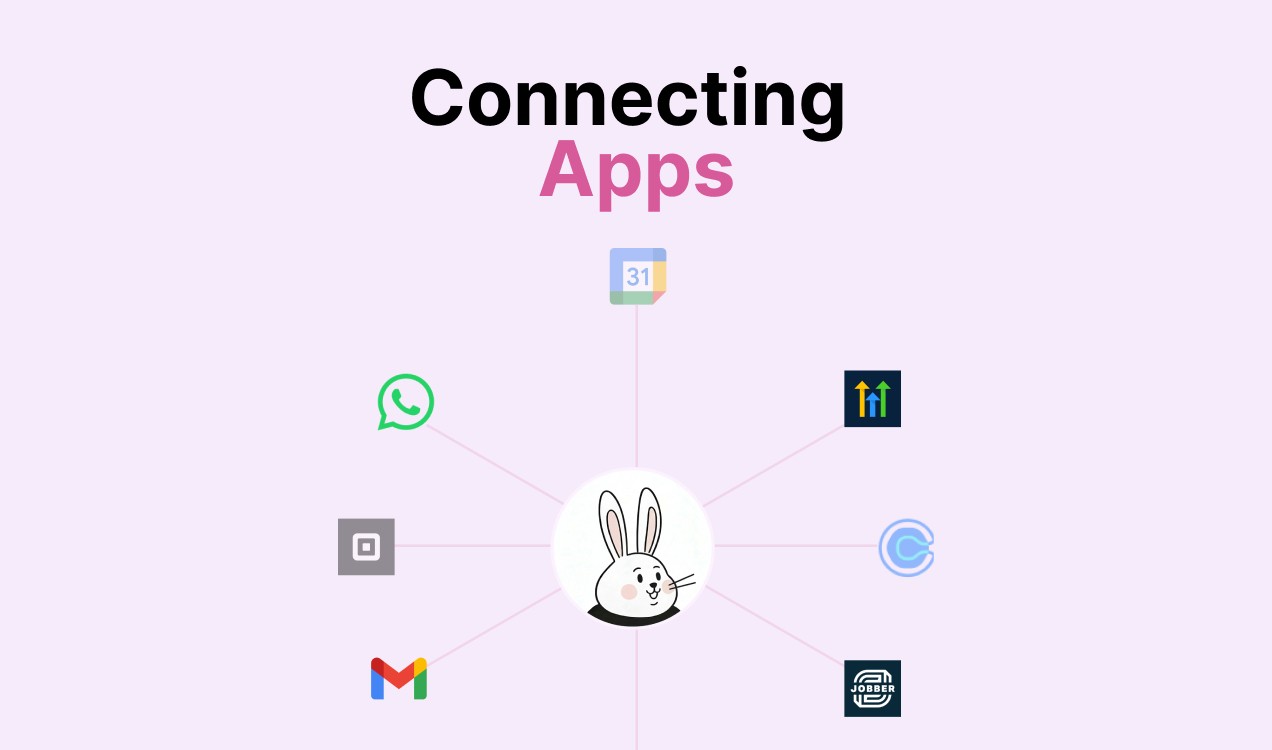
Outlook, Calendly, Acuity Scheduling, Square Appointments and other scheduling tools connect through Zapier. Your setup covers which events Gubby can book and how confirmations are sent.
Multiple Calendars and Team Scheduling
For businesses with multiple team members or service providers, Hello Gubby supports more complex calendar setups.
Team Member Selection
Configure the AI to ask which team member the caller wants to see, then check that person's specific calendar for availability.
"Would you like to book with Dr. Smith or Dr. Johnson?" Based on the answer, the AI checks the correct calendar.
Service-Based Routing
Different services might be provided by different team members. A salon might route color appointments to colorists and cuts to stylists. The AI can determine the service needed and check the appropriate calendar.
Shared Team Calendars
For businesses where any team member can handle any appointment, use a shared team calendar. The AI books into available slots without specifying who will take the meeting.
Location-Based Calendars
Multi-location businesses can route to different calendars based on the caller's preferred location. Ask which location they prefer, then check that location's calendar for availability.
Common Configuration Options
Regardless of which calendar you use, these settings help fine-tune the booking experience.
Confirmation messages: Customize what the caller hears after booking. Include the date, time, location, and any preparation instructions.
SMS confirmation: Send a text message confirmation immediately after booking. This gives callers a record they can reference later.
Email confirmation: Send detailed email confirmation with calendar invite attachment.
Reminder settings: Configure automated reminders before the appointment. A call or text 24 hours before reduces no-shows.
Reschedule and cancel: Define whether callers can reschedule or cancel by phone, and any time limits on changes.
Troubleshooting
If calendar integration is not working as expected, check these common issues:
Connection expired: OAuth tokens can expire over time. Reconnect the integration if bookings stop working.
Availability showing incorrectly: Verify that your availability settings in Hello Gubby match your actual working hours. Check that events blocking time are on the correct calendar.
Appointments not appearing: Confirm you selected the correct calendar during setup. Check that you have permission to create events on shared calendars.
Time zone issues: Verify that your calendar time zone and Hello Gubby time zone match. Mismatched time zones cause bookings at incorrect times.
The Bottom Line
Calendar integration turns phone calls into booked appointments automatically. No manual scheduling. No callback to confirm times. No opportunities for leads to change their minds while waiting.
The setup takes a few minutes with any major calendar platform. Once connected, every qualified caller can book before hanging up. That immediate conversion is worth far more than the few minutes spent on setup.
Hello Gubby connects natively to Google Calendar, and to Outlook, Calendly, Acuity Scheduling, Square Appointments and other scheduling tools through Zapier. Connect your calendar and start converting more callers into booked appointments.